|
|
Screenshots
Here are a couple of screenshots to illustrate what HepMCBrowser and
HepMCVisual can do for your.
HepMCBrowser overview
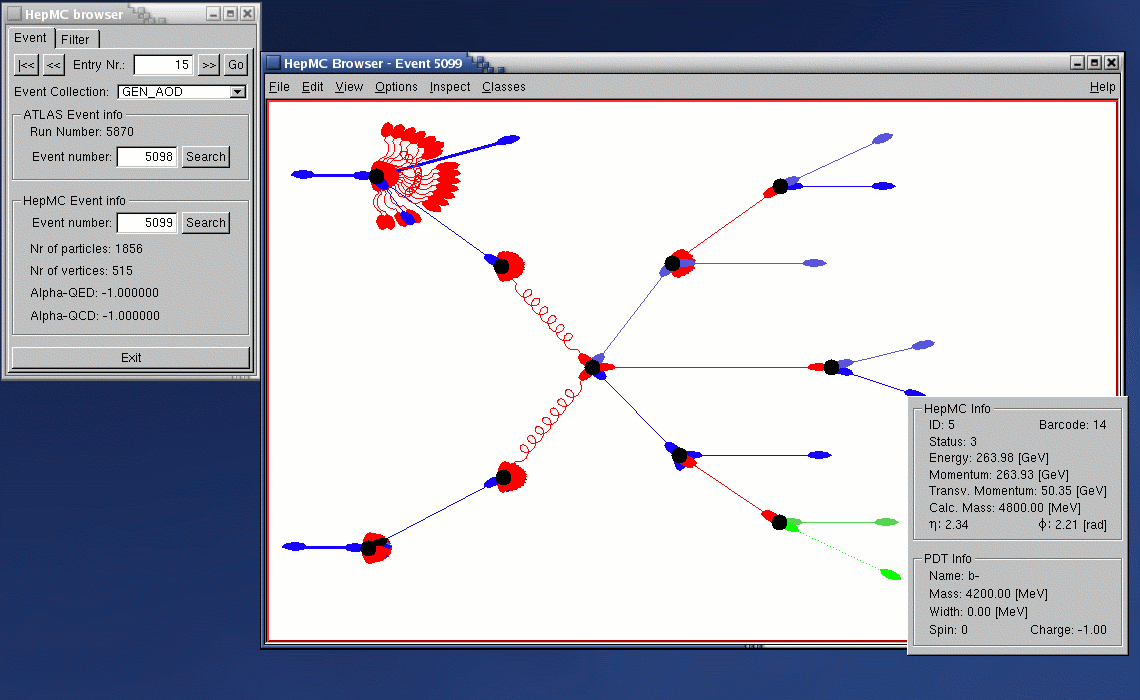
This screenshot shows an overview of all the GUI windows:
- On the top left, there is the HepMCBrowser GUI with the event
tab and filter tab. Both of these are further described below.
- The big window in the middle is the event canvas, where the current event
is displayed. Here you can navigate the event by clicking on the particles and
vertices.
- The small window at the lower right is the particles popup window. It
will show up whenever you click on a particle, showing its basic properties.
HepMCBrowser GUI windows
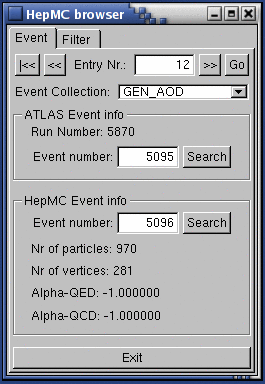
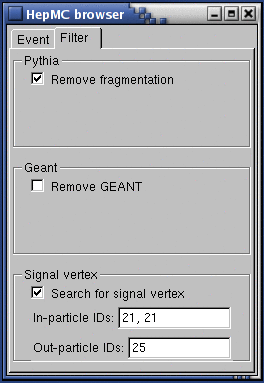
These two screenshots show the two tabs of the HepMCBrowser GUI:
- In the event tab, you can seek forward and backward through the events in
your input files using the forward and backward buttons. You can
also directly enter an entry number, then hit Go in order to jump to
that entry.
Make sure the proper event collection type is selected from the combo box
below.
You can also search events by their event number as given in the ATLAS event
information or in the HepMC event information.
- In the filter tab you can apply some algorithm to the event before
displaying it, e.g removing all the particles and vertices added by the
fragmentation in Pythia or all the particles and vertices added by the
GEANT
simulation.
Especially usefull is the Search for signal vertex option, which allows
you to search for a particular vertex in the event, identified by its incoming
and/or outgoing particles. This vertex (if found) will then show up as the
first vertex in the event window.
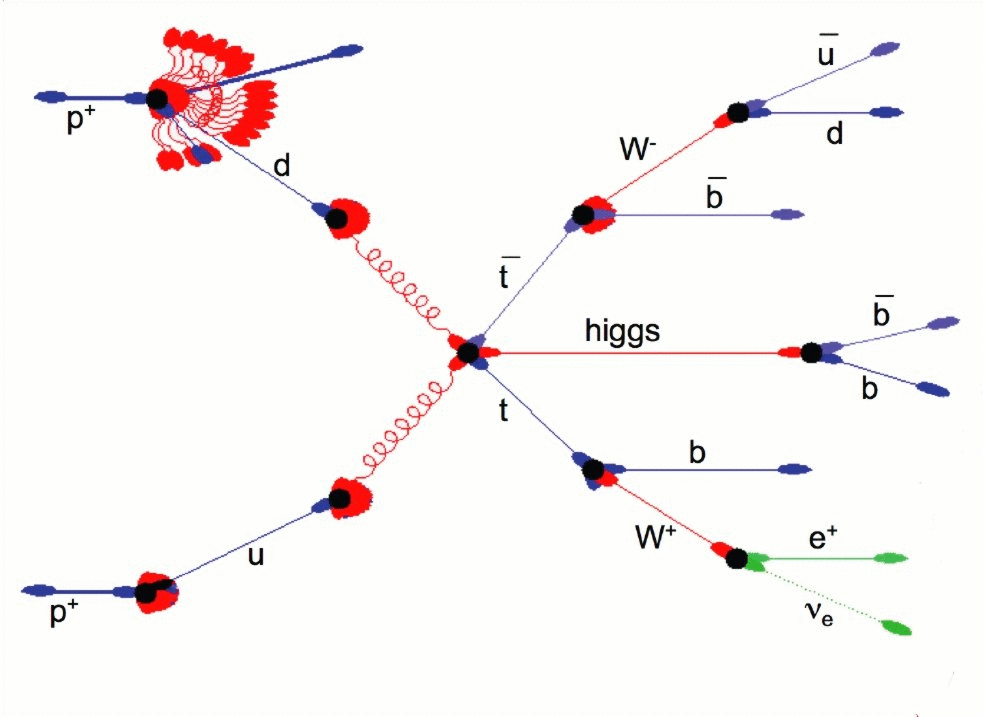
Using TCanvas
This last screenshots demonstrates the advantages of using a TCanvas to draw the
event on.
In order to create an image like this, simply click on View->Toolbar in
the event window menu, use the TLatex tool to add the symbols, then save
your image using File->Save As again from the event window menu.
|


